ADVERTISEMENT
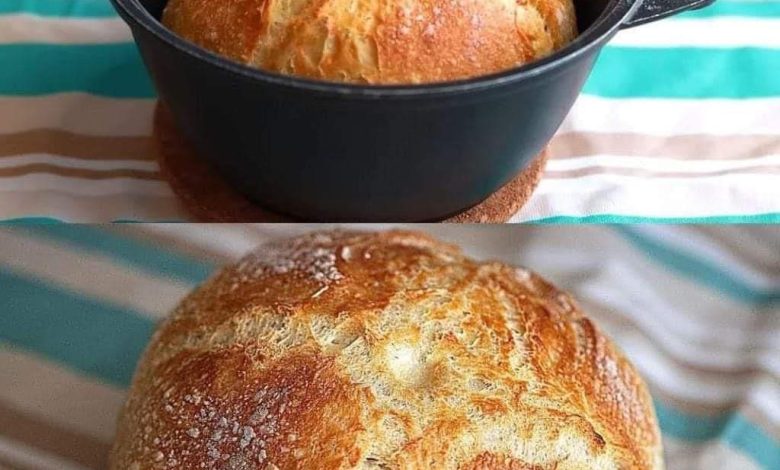
Rustic Dutch Oven Bread
Introduction:
Baking bread at home can seem intimidating, but with the right recipe, it becomes an enjoyable and rewarding activity. This Dutch Oven Bread is perfect for beginners and seasoned bakers alike. The Dutch oven creates a steamy environment inside, which helps produce a loaf with a crispy crust and a soft, airy interior. This bread is not only delicious but also versatile, serving as a wonderful complement to any meal or simply enjoyed with a pat of butter.
Ingredients:
- 4 cups all-purpose flour
- 1 packet (2 1/4 teaspoons) active dry yeast
- 2 teaspoons salt
- 2 cups warm water (about 110°F)
- 1 tablespoon sugar (optional, for aiding yeast activation)
- Olive oil (for coating)
- Additional flour for shaping
Instructions:
- Prepare the Dough:
- In a large bowl, combine flour, yeast, and salt. Mix the sugar into the warm water and pour this into the flour mixture. Stir with a wooden spoon until a sticky dough forms.
- Cover the bowl with a damp cloth and let the dough rise at room temperature for about 1 to 2 hours, or until it has doubled in size.
- Second Rise:
- After the first rise, lightly flour your hands and your work surface. Gently remove the dough from the bowl and briefly knead it, about 10-15 seconds, to knock out any air bubbles.
- Shape the dough into a round loaf. Place the dough on a piece of parchment paper and let it rise again for about 30 minutes.
- Preheat the Dutch Oven:
- While the dough is rising, place your Dutch oven, with the lid on, into the oven and preheat to 450°F (230°C). This step is crucial as the hot pot helps create the steamy environment needed for baking.
- Bake the Bread:
- Carefully remove the hot Dutch oven from your oven. Lift the dough using the parchment paper and place it inside the pot.
- Cover with the lid and bake for 30 minutes. Then, remove the lid and bake for an additional 15-20 minutes or until the bread is golden brown and sounds hollow when tapped.
- Cool and Serve:
- Remove the bread from the Dutch oven and let it cool on a wire rack for at least 30 minutes before slicing. This cooling period helps the interior structure set and improves the texture.
Conclusion: Dutch Oven Bread is a testament to the beauty of simplicity in baking. With just a few ingredients and a straightforward method, you can produce a loaf that’s visually impressive and incredibly satisfying to eat. This bread is perfect for dipping in soups, serving alongside dinner, or simply slathering with jam for a morning treat. Enjoy the process and the delicious results of your homemade bread!
ADVERTISEMENT